Our Model A Ford Project
Photo Page 9

Home

Photo Page1 | Photo Page2 | Photo Page3 | Photo Page4 | Photo Page5 | Photo Page6 | Photo Page 7 | Photo Page 8 | Photo Page 9 | Photo Page 10 | Photo Page 11 | Photo Page 12 | Photo Page 13 | Photo Page 14 | Photo Page 15 | Photo Page 16 | Photo Page 17 | Photo Page 18 | Photo Page 19 | Photo Page 20 | Photo Page 21 | Links

Roof Installation continued.

topinstall3.jpg

Install cotton batting over chicken wire and trim with razor blade or utility knife.

topinstall1.jpg

Al is applying black RTV in tack hole channels prior to installing the actual roof material.  You can use black or clear RTV (silcone cement).

topinstall.jpg

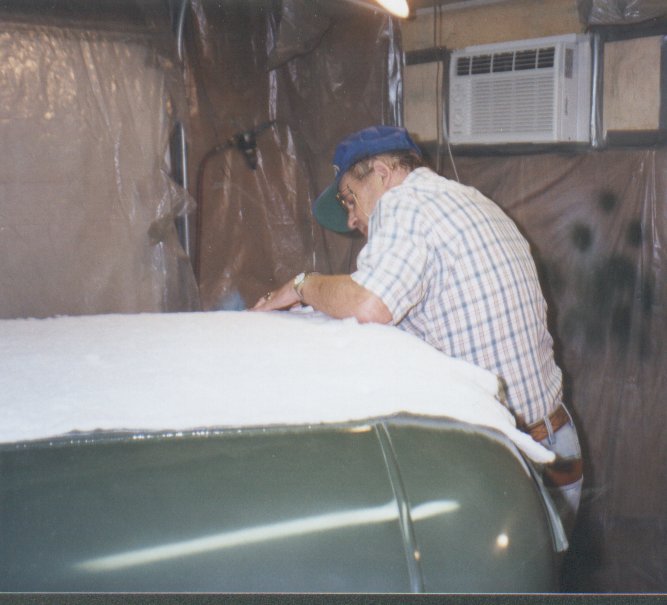
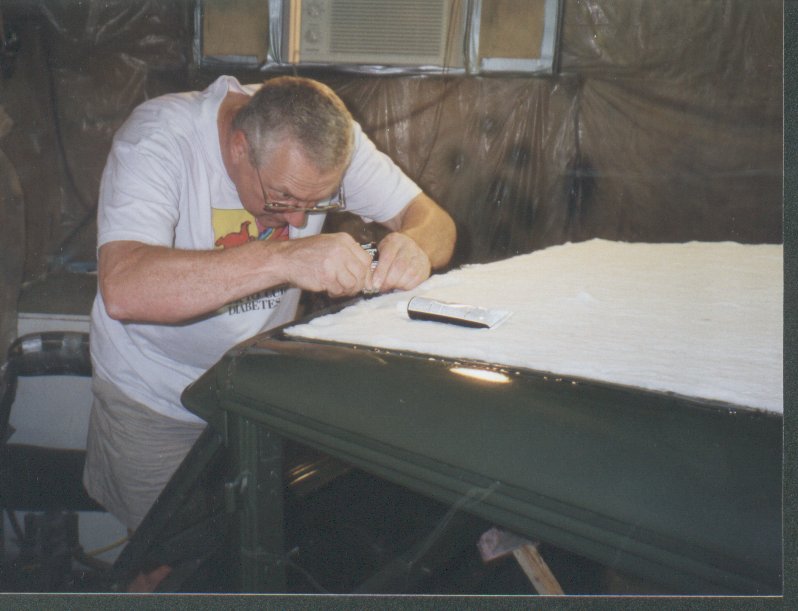
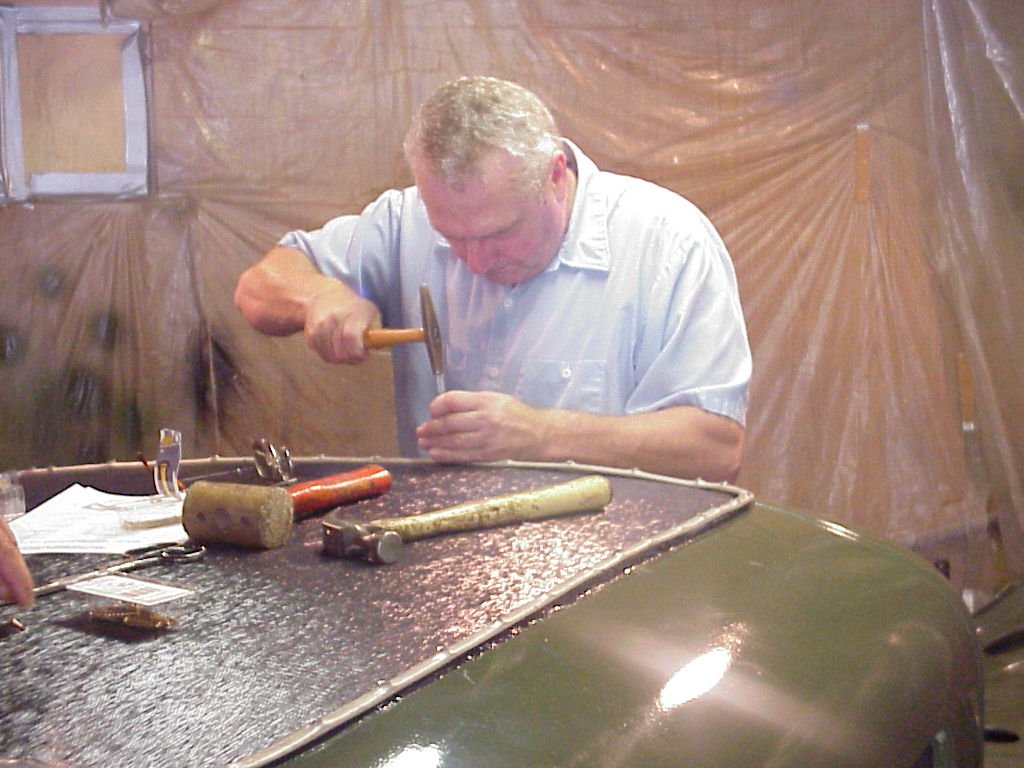
During the time we were doing the prep work for roof installation, the vinyl roof material was out in the hot sun so it was nice and stretchy.  Al & Dave laid the material over the top and started hand tacking it around the edges.  Finding the tack holes can be difficult and tedious.

hiddem.jpg

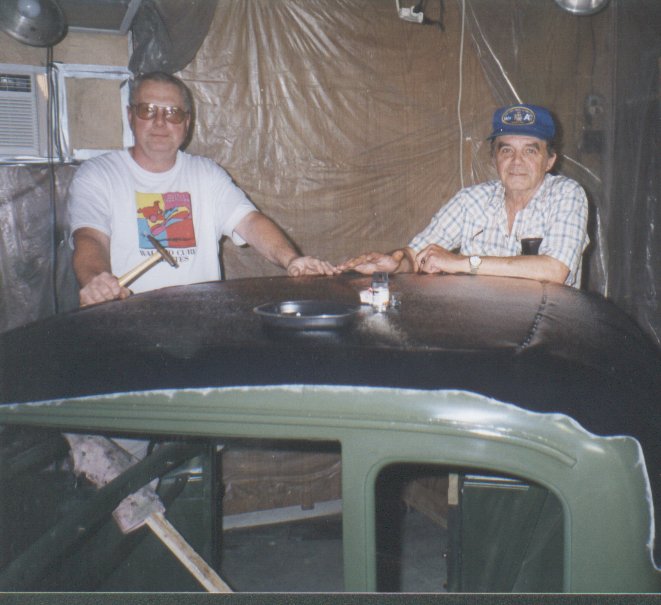
We decided to re-use the original aluminum "hiddem", so Dave & Al are removing the old nails.

hiddem1.jpg

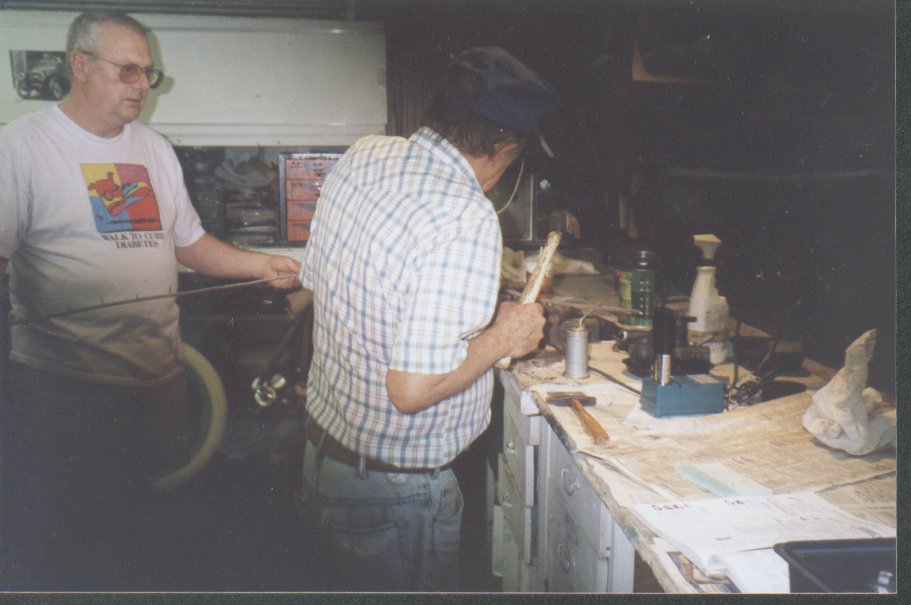
Al is setting the nails.  We used a modern style nail, the kind that have a "twist" for extra hold.


hiddem3.jpg

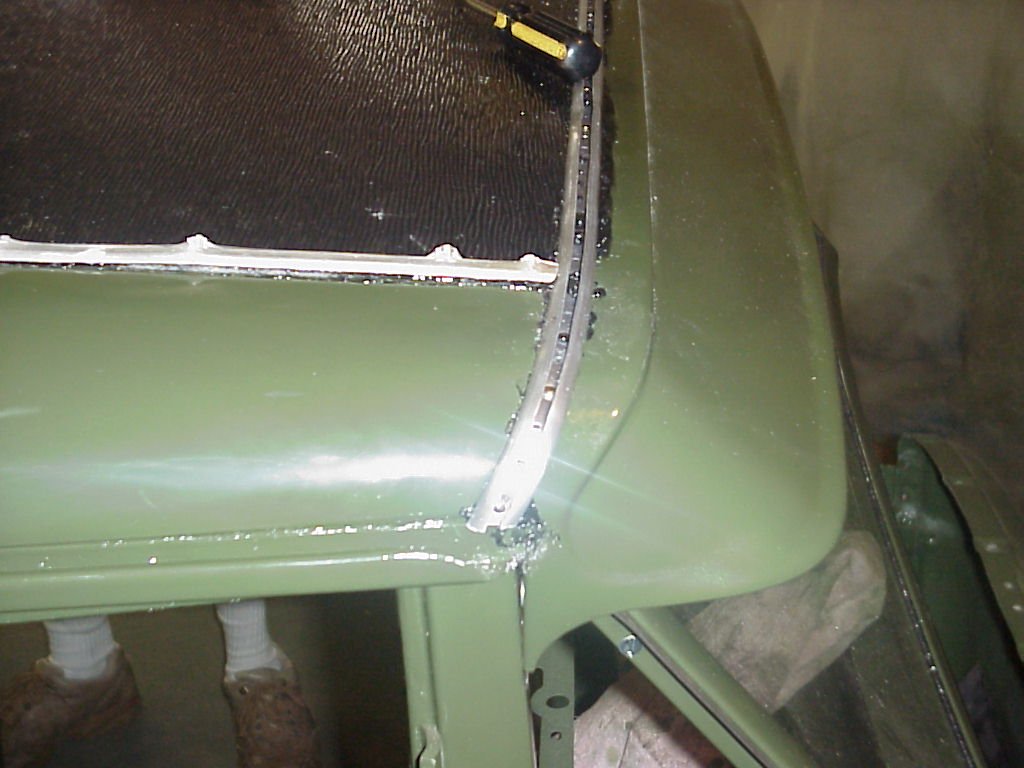
The header hiddem runs from the rain gutter to rain gutter.  After it is tacked down Al used a block of wood to tap the two sides together.  Al also ran a bead of RTV under the hiddem for extra rain proofing.

Turned to Page 10 for body installation!