Our Model A Ford Project
Photo Page 17

Home

Photo Page1 | Photo Page2 | Photo Page3 | Photo Page4 | Photo Page5 | Photo Page6 | Photo Page 7 | Photo Page 8 | Photo Page 9 | Photo Page 10 | Photo Page 11 | Photo Page 12 | Photo Page 13 | Photo Page 14 | Photo Page 15 | Photo Page 16 | Photo Page 17 | Photo Page 18 | Photo Page 19 | Photo Page 20 | Photo Page 21 | Links

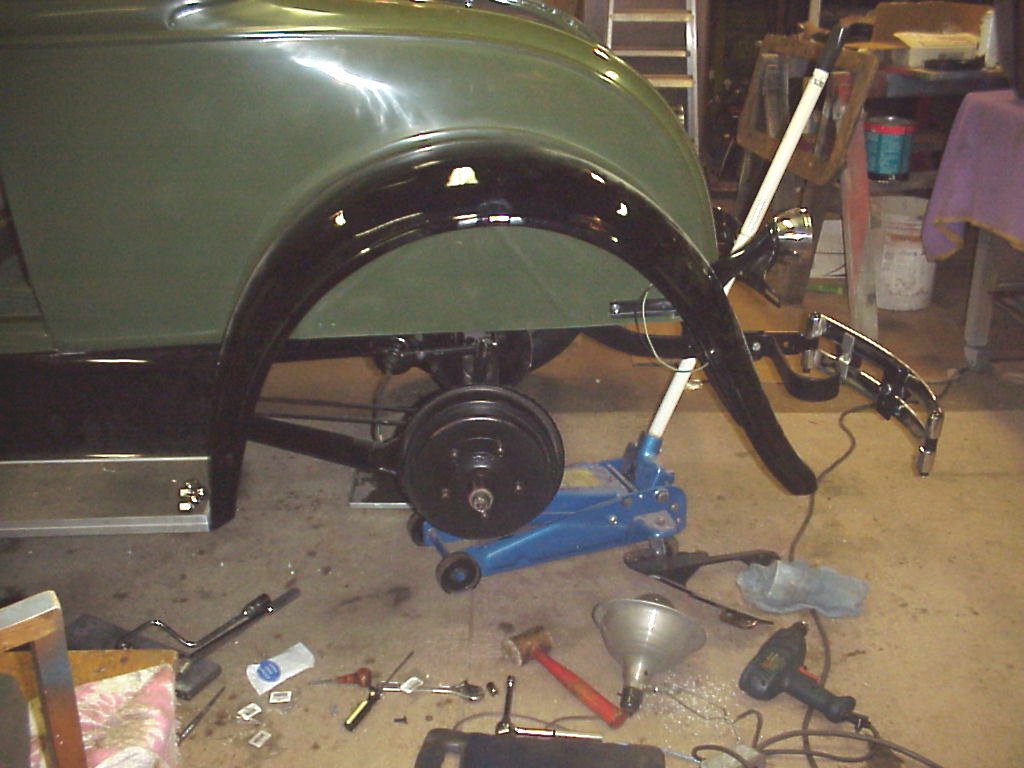
Neal and Dave start rear fender installation.

rearfender2.jpg

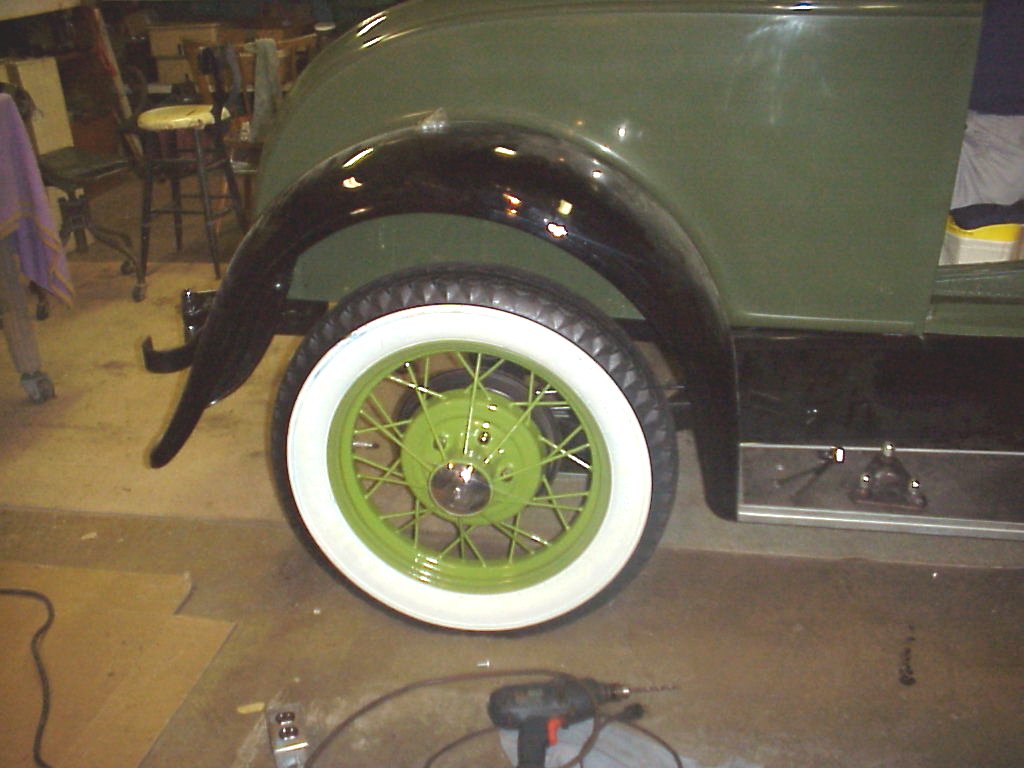
Installation is pretty straight forward, just hang the fender on the fender well bolts and install the rest of the bolts.  Both rear fenders had extensive repair and some of the holes had to be re-drilled or a drift pin was used to line the holes up. 

rearfender1.jpg

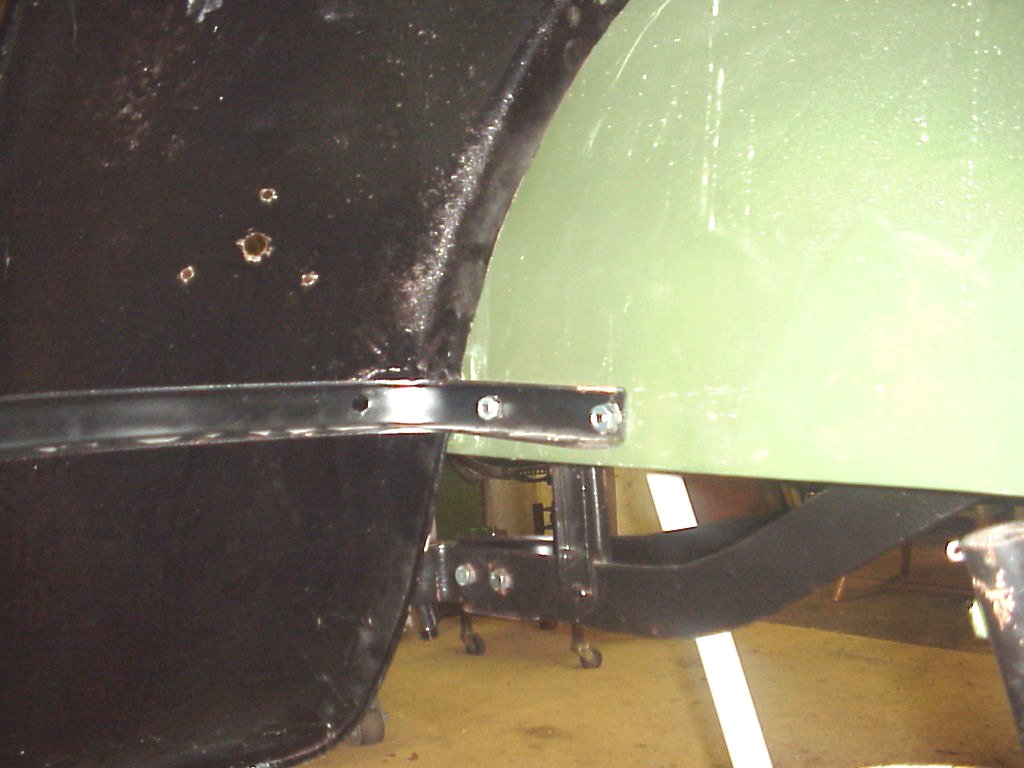
fenderbrace.jpg

The rear fender braces were reproduction and required some modification to make them fit.  The fenders have been fitted and all the bolt holes line up.  Next the fender bead will be put on.

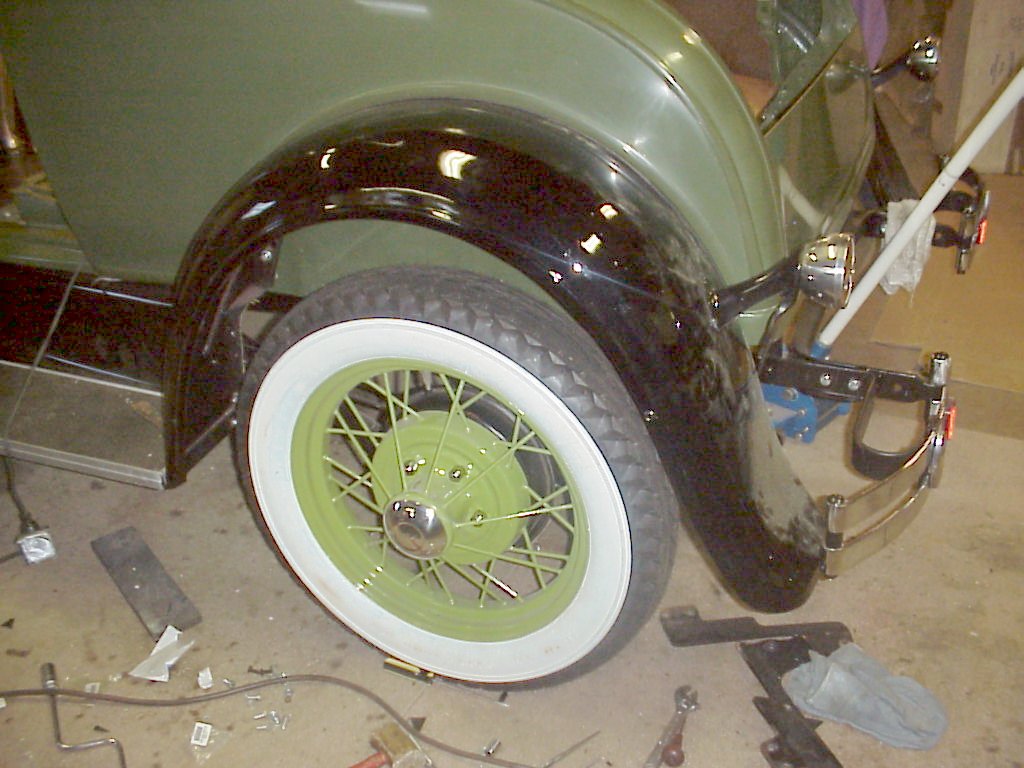
rearfenderdone.jpg

It's hard to see, but the fender bead has been installed, completeing the rear fenders.


Rear fender installation is complete.  Next we will complete the interior upholstery and front seat installation.