Our Model A Ford Project
Photo Page 12

Home

Photo Page1 | Photo Page2 | Photo Page3 | Photo Page4 | Photo Page5 | Photo Page6 | Photo Page 7 | Photo Page 8 | Photo Page 9 | Photo Page 10 | Photo Page 11 | Photo Page 12 | Photo Page 13 | Photo Page 14 | Photo Page 15 | Photo Page 16 | Photo Page 17 | Photo Page 18 | Photo Page 19 | Photo Page 20 | Photo Page 21 | Links

Hood Installation

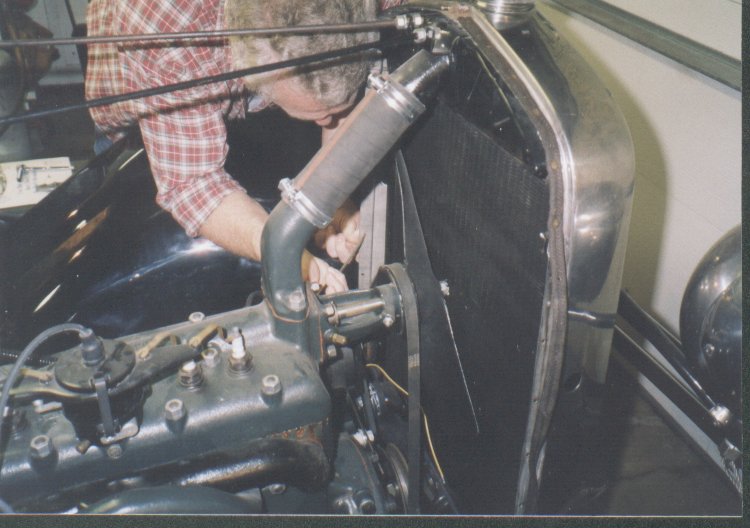
hoodinstall10.jpg

Al installing the radiator shell.  Notice the lacing has to been attached with split revits after the shell is installed.

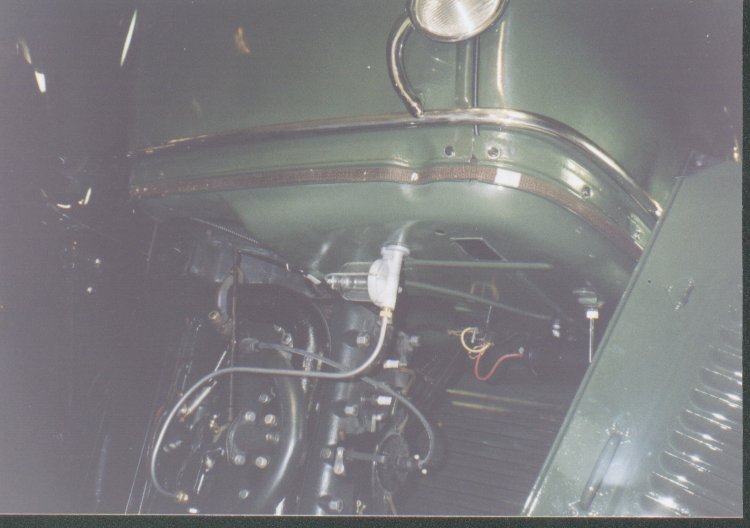
hoodinstall11.jpg

This is a sidways picture of the cowl lacing.  Brackets are installed on each end to hook it at the bottom of the cowl and then screws on the sides and top draw it in tight.

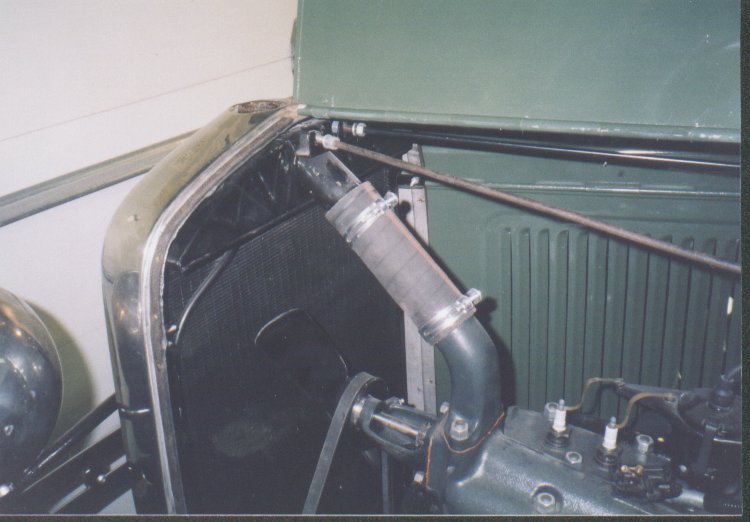
hoodinstall12.jpg

The hood is on and the radiator braces are now tightned.  This time the install looked good.  The gap along the sides was even and no adjustment to the body block shims was needed.

There are no pictures of actually putting the hood on.  It took all 3 of us to set the hood in place.